
Krieger Setup Guide
Quick build tips for Krieger
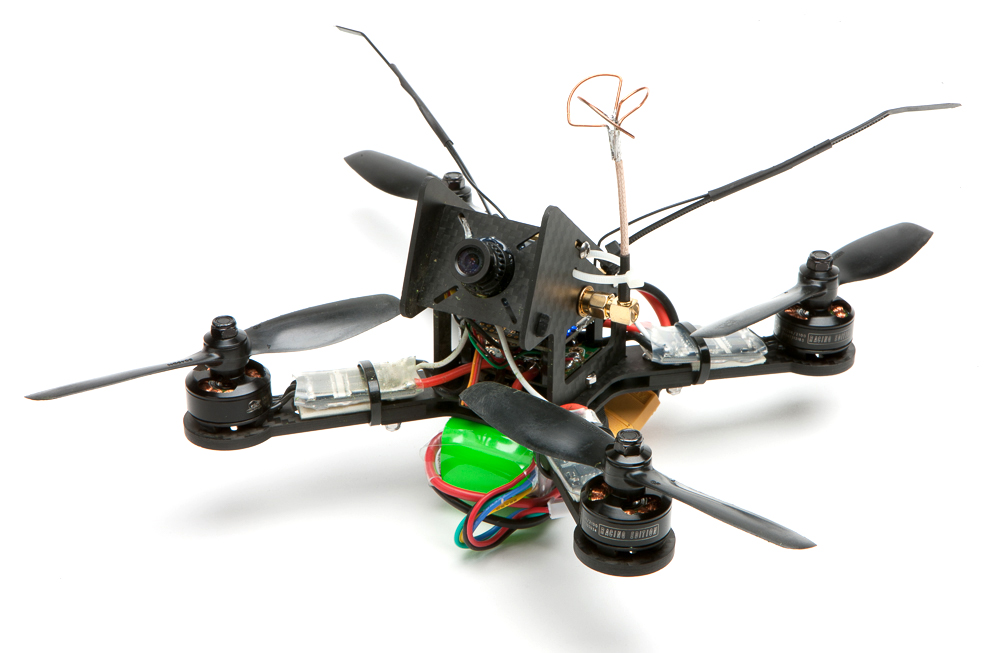
Krieger's pretty easy to build, just stack your FC, PDB, and RX and put your esc's on the arms. Here's how the frame goes together.
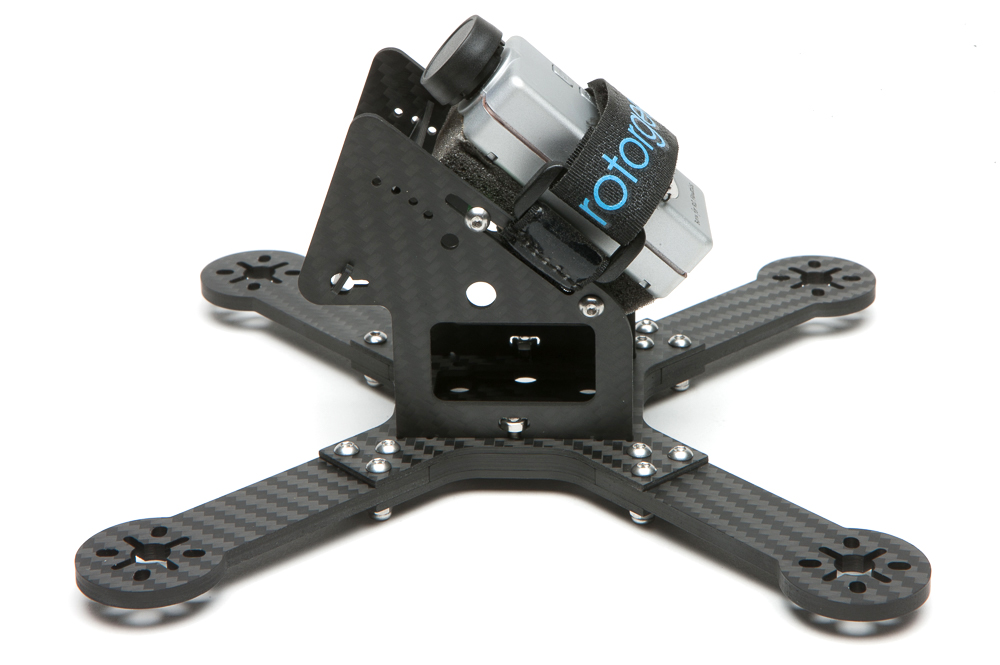
Slide the cam plate through the slot in the vertical stanchion, and rotate it to lock it in. You might want to mount your fpv cam before this step, or you flip the plate all the way forward later and mount it then.

Do the same on the other side.

Line up the top x plate and the 4mm spacer, and push the stanchions down through the slots. Tolerances are super tight so be patient.
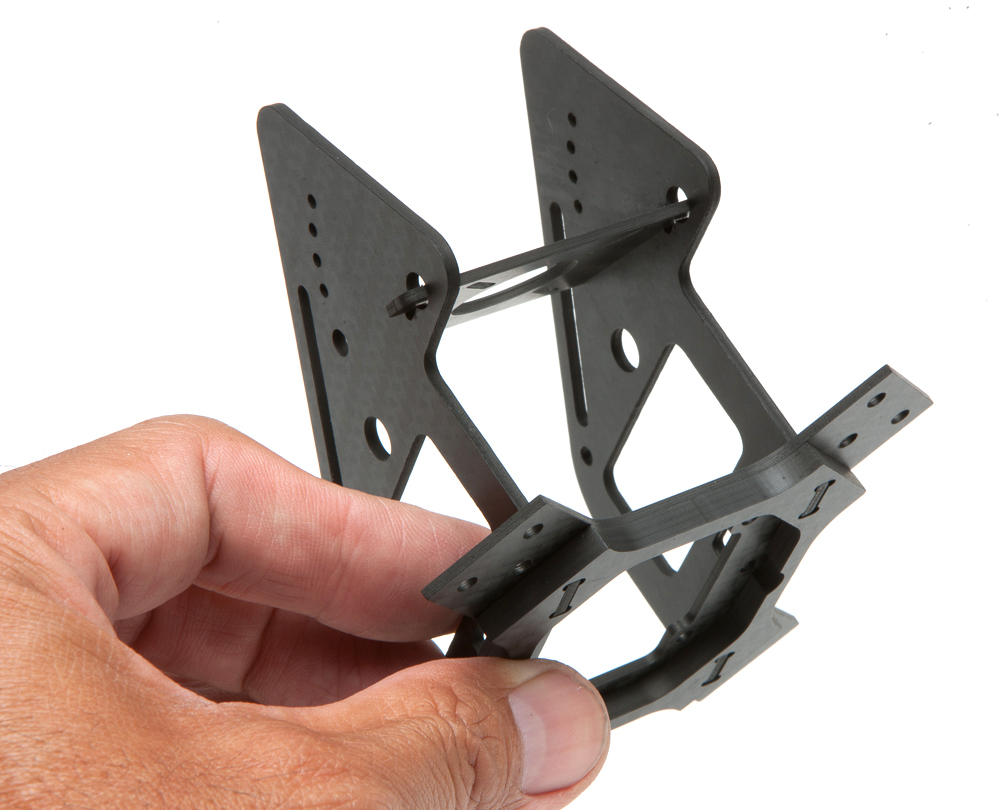
Slip a nut in the slot and drive a M3x6 through it. Use just a little loctite here – once this is in it's almost impossible to get a pair of pliers on that nut. If I need to unscrew this I push something flat and hard against the nut.

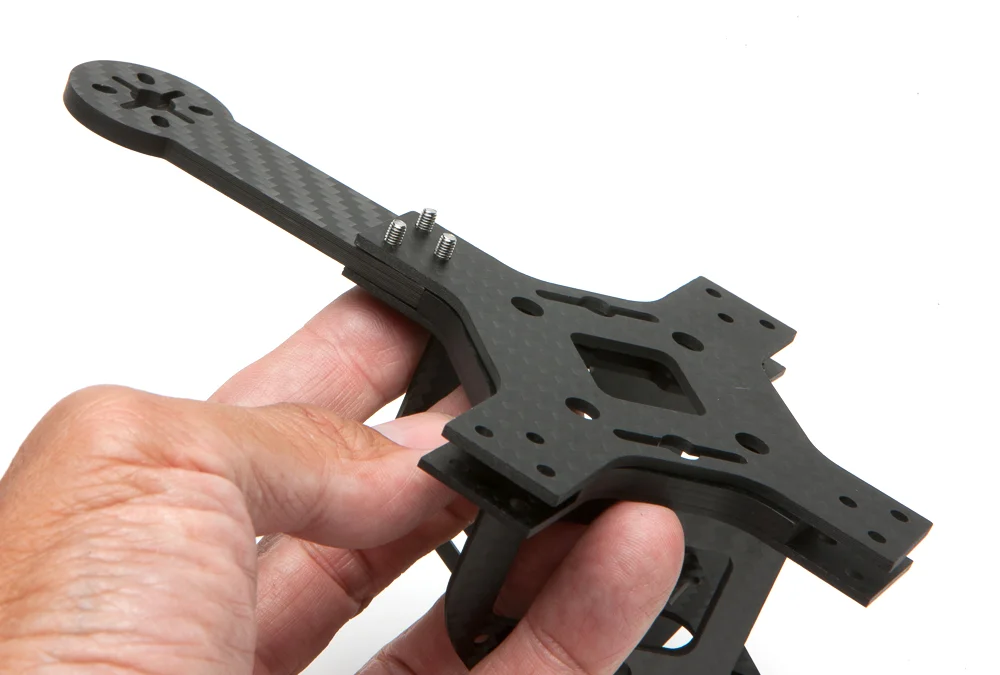
Bolt on the arms and you're almost done. Tolerances are super tight so don't tighten the arms 'til all four are on. You'll want to have run the battery strap through the lower plate before bolting it on. I also highly recommend sticking some padding to the bottom plate to soften impact forces between the battery and bottom plate.
That's it? You call this a build guide???
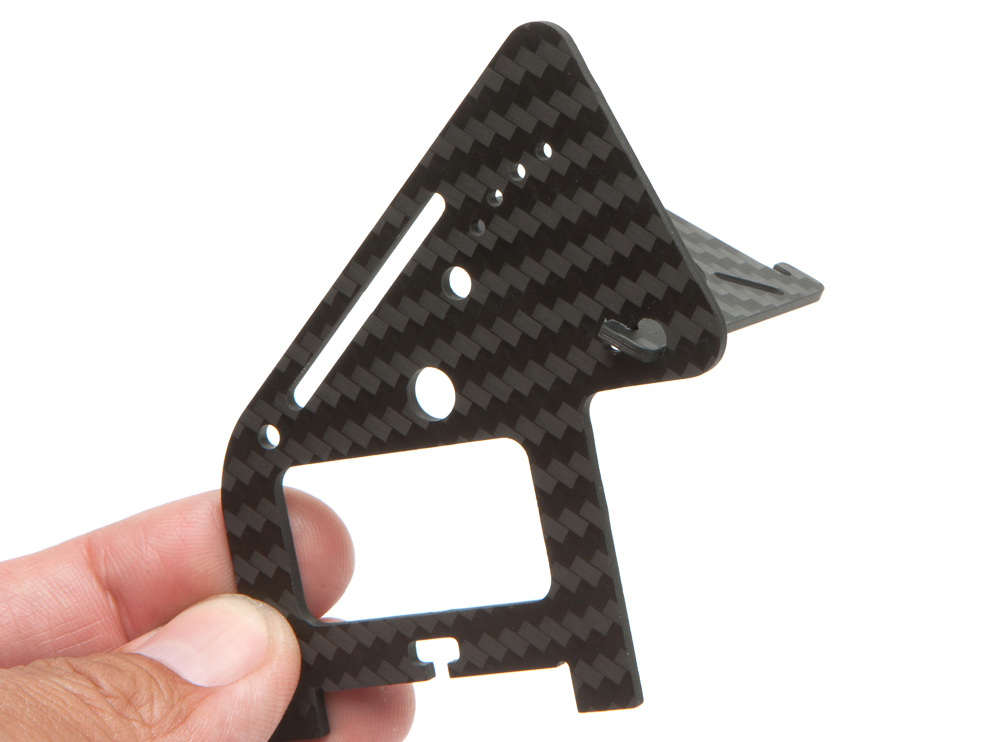
The two standoffs screw on as shown. The upper one rides on the slot so you can move it in case you're using a large board cam with lots of tilt. The cam tilt plate is just slightly wider than the standoff, so you can tweak (wordplay) the amount of friction on the plate by changing the tightness of the screws on the upper standoff. One of the two screws on the upper standoff will not bottom out, it's your cam plate tension adjustment. The four angle indicator holes are at 20, 30, 40, and 50 degrees. The bigger 3mm hole is for routing a ziptie to keep your vtx antenna from swinging down into the props.

Here's a shot of my built up prototype to show you what I mean with the ziptie and the vtx antenna. Note that it routes through that 3mm hole and back through the slot.
And that's about it! One last tip for Mobius/Runcam users. Tape a piece of weatherstripping on the bottom of the camera and strap it on.

Or turn it around for the perfect rear facing camera mount. 'Cause that's where all the other quads will be.
